
A palette to try
These swatches are colour suggestions, not a finished colouring example. Use the closest pencils you have; exact matching is not needed.
- Muted greenFirst colour on larger aircraft areas
- Earth brownCamouflage-inspired patches
- Pale blue-greyA contrasting light area
- Charcoal greySmall details and gentle shadows
Work through the page.
You need your chosen printed page, a few coloured pencils and a scrap sheet. An adult can help choose suitable tools for a child. Work lightly at first and stop whenever you want; finishing the page is optional.
1. Find the large and small shapes
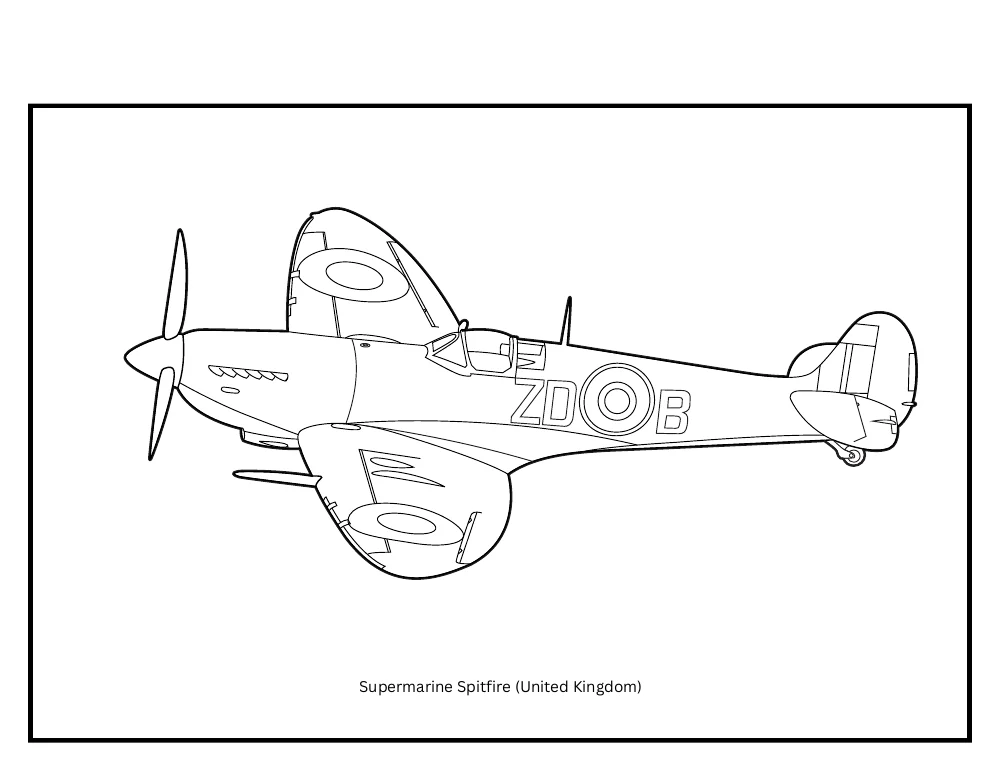
Look over the wings, body and tail before starting. Decide which larger areas will carry the green-and-brown pattern and which details you want to leave light. Choose a simple direction for imagined light, such as above the aircraft. Keep the printed caption readable and work around fine line details rather than covering them with heavy colour.
2. Practise a curved patch
On scrap paper, make a loose curved shape in brown, then fill it with gentle strokes. Surround it with green. Avoid making all your patches the same size or arranging them in a regular checkerboard. Try only two or three shapes first. These practice patches help you decide how busy you want the aircraft to look.
3. Lay down light colour areas
Lightly fill the chosen larger shapes with green, leaving spaces for your brown patches. Add brown with the same gentle pressure so neither colour immediately overwhelms the other. Follow the outlines of the aircraft where a patch meets an edge. You do not need to add a pattern to every section of wing and body.
4. Keep glass and small details distinct
Use a very light blue-grey on glass or other areas you want to separate from the camouflage, leaving a sliver of white where useful. Add charcoal sparingly to existing small details and lower edges. A sharpened pencil helps preserve narrow gaps. This simplified palette is about making neighbouring shapes readable, not assigning authentic materials or markings.
5. Balance the whole page
Look at the aircraft from a little further away. If one patch is much darker than the others, add a gentle second layer elsewhere instead of outlining every patch. Leave the background white or suggest a pale sky with light blue strokes. Check that the wing and tail outlines still stand out before deciding the page is finished.
Try a second version.
Create two green-and-brown swatches on scrap paper: one mostly green and one mostly brown. Choose which balance you prefer. A second sample aircraft can use the other balance without needing any extra pencil colours.
If a detail is tricky.
- The colours look muddy.
- Keep green and brown mainly beside each other rather than repeatedly layering both over the same area.
- The aircraft blends into the sky.
- Leave a little white space around the outline and keep the sky lighter than the aircraft.
These are creative colour suggestions, not a promise of an exact vehicle, aircraft or team livery. Use the printed outlines as a starting point and make the colour choices your own.
Keep exploring WW2 Fighter Planes.
20 WW2 plane designs in the full paperback. The free four-page pack is a small selection, not a digital edition of the complete book.
See the full book, previews and details
Buy on Amazon UKChoose your Amazon store at the top of the page. Amazon shows local prices, stock and delivery.
More notes on materials and colouring together · Download the printable WW2 Fighter Planes pack