
A palette to try
These swatches are colour suggestions, not a finished colouring example. Use the closest pencils you have; exact matching is not needed.
- Warm redMain bodywork
- Deep redBodywork shadows
- Soft greenForest background
- Slate greyTyres, road and small details
Work through the page.
You need your chosen printed page, a few coloured pencils and a scrap sheet. An adult can help choose suitable tools for a child. Work lightly at first and stop whenever you want; finishing the page is optional.
1. Plan the pale areas
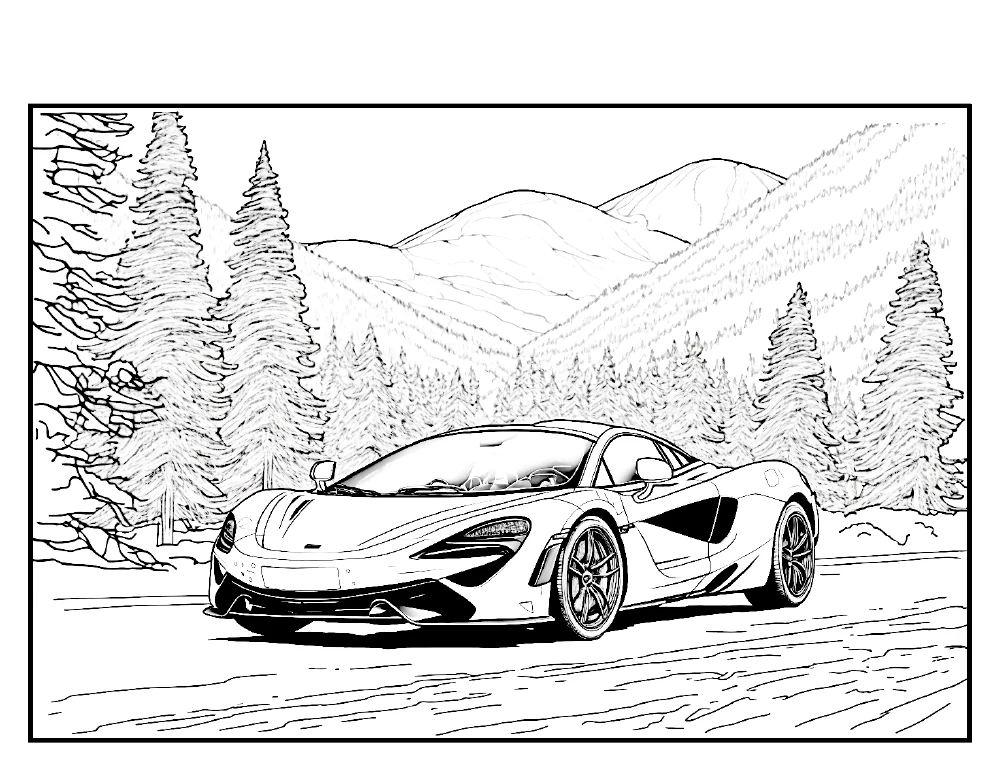
Before colouring, look at the bonnet, roof and side panels. Choose one side as the brighter side and leave a slim strip of paper uncoloured along its upper edges. Test a light red patch and a darker red patch on scrap paper. You can use another main colour; the light-to-dark relationship matters more than matching these swatches.
2. Build the first body colour
Use light pressure and short, overlapping strokes to fill the main panels. Work around the pale strips rather than trying to erase highlights later. Turn the paper to make a long edge easier to follow. Leave windows and tyres for now so that you can see the overall colour of the car before adding dark details.
3. Add a second layer below
Place a little deep red beneath the side panels and near lower edges. Bring this darker layer towards the middle with gentler pressure so that it fades into the first red. Start with one panel and compare it with an untouched panel. Stop while some of the light layer is still visible.
4. Separate glass, tyres and road
Use pale grey on the windows, leaving a thin white strip as a reflection. Give the tyres a darker grey but keep the wheel details visible. Shade the road lightly, with a darker patch immediately beneath the car. Avoid filling every small space with black; the printed outlines already supply strong dark marks.
5. Set the car against the forest
Colour the trees with a softer green layer than the bodywork. Leave small gaps between groups of strokes instead of making one solid wall of green. Step back from the page: if the car is easy to spot first, your contrast is working. You can leave parts of the scenery white.
Try a second version.
On scrap paper, draw two simple rectangles and colour them red. Leave a white highlight in one and fill the other completely. Compare which looks shinier, then choose the effect you prefer for your next car.
If a detail is tricky.
- The car and background compete.
- Keep the remaining scenery lighter rather than pressing harder on the whole car.
- The shadow looks like a stripe.
- Use a light layer of the main colour across the join. A gentle change is easier to build in several passes.
These are creative colour suggestions, not a promise of an exact vehicle, aircraft or team livery. Use the printed outlines as a starting point and make the colour choices your own.
Keep exploring Supercars.
50 supercar designs in the full paperback. The free four-page pack is a small selection, not a digital edition of the complete book.
See the full book, previews and details
Buy on Amazon UKChoose your Amazon store at the top of the page. Amazon shows local prices, stock and delivery.
More notes on materials and colouring together · Download the printable Supercars pack